Dan Freeland
02.02.2021
Installing pitot tubes
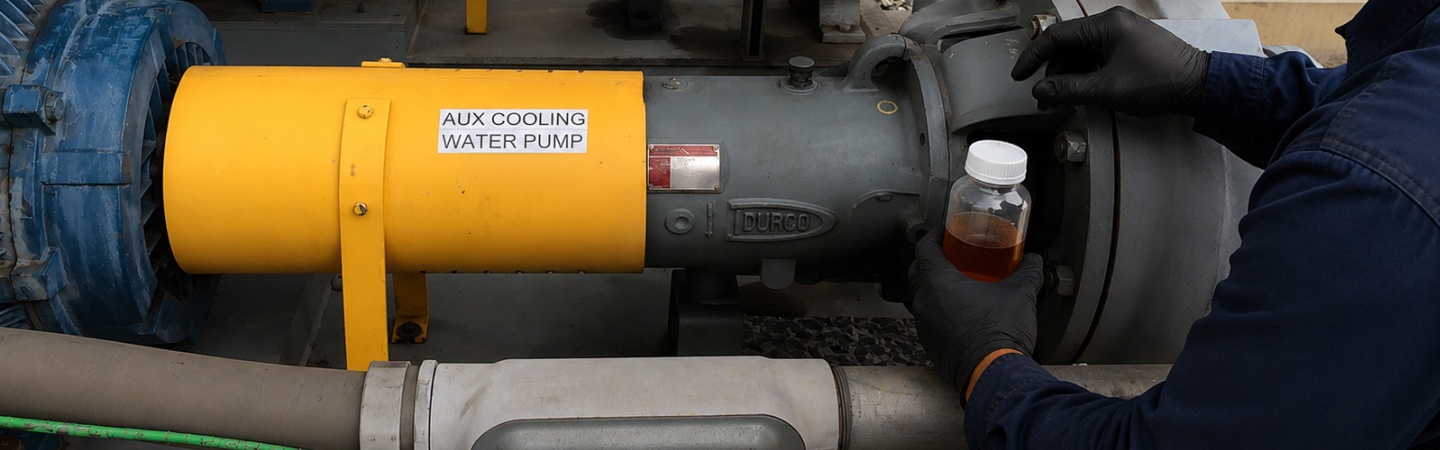
The practice of oil analysis continues to generate popularity in becoming an integral part of a company’s lubrication program. There is good information that can be obtained by taking an oil sample from your equipment, having it analyzed by a certified lab, and reviewing the results with a lab analyst. You will be able to learn things about the useful remaining life of your lubricant and the status of your equipment components. This all assumes that the samples you are taking are representative of the working area of the lubricant. This can be difficult without using the proper equipment to take the sample. Fortunately, oil analysis has driven the industry to come up with innovative tools, like sample ports and pitot tubes, to assure proper sample location. The challenge is when equipment is in the field, it can be difficult to figure out how to install pitot tubes. This article is intended to guide you through the process of correctly installing a pitot tube.
Designed to Get Into the Turbulent Zone
Ideally, selecting a pitot tube length and providing the correct bend configuration can be done in the shop with the equipment components exposed. This will allow you to measure and bend the pitot tube, avoiding the visible components, yet guiding the pitot tube tip to the best location in the equipment. This is known as the “turbulent area” or “working area” of the lubricant. This is a location close to the equipment components, where lubricant is turned over often and the closest representation of lubricant that the actual components will see. The pitot tube can be permanently installed by threading it into the equipment with or without the use of a swivel fitting, assuring clearance from internal components. The equipment can then be reassembled. The sampling valve can be installed on the threaded end of the pitot tube on the external port location of the equipment. And finally deployed to the field, where reliable and repeatable oil samples can be taken.
Pitot Tube Installation
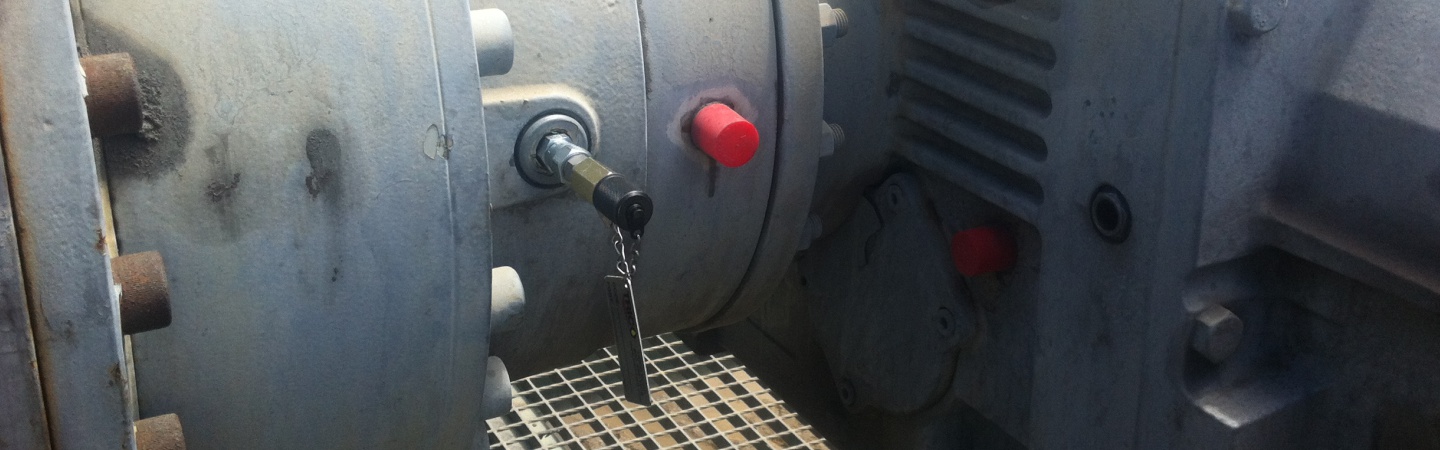
Equipment that has already been deployed and has no scheduled shop maintenance do not provide the same luxury of opening the equipment to layout pitot tube installation. Some machines rarely come to the shop for full blown disassembly and rebuilding. Pitot tubes can still be installed on these machines, but a slightly different approach is required. From a scheduling standpoint, the installation needs to be done on an oil change interval when the equipment is empty AND MACHINE IS LOCKED OUT/TAGGED OUT.

- Determine port to install pitot tube/sampling port. For easiest installation, the port should be below the oil level to be maintained, so few bends if any are required.
- Insert pitot tube into the selected port. Continue until the pitot tube hits an internal component.

3. Make a mark on the tube at the end of the threaded port.

4. Measure the distance from the tip of the pitot tube to the mark you just made. Shown is 6 inches.

5. Now flip the tape measure around and measure that same distance from the bottom flat on the hex of the swivel fitting. Subtract ½” from the previous measurement of 6” (5 ½”) and mark the tube. THIS IS YOUR CUT LINE.

6. Cut tube at the second mark you made with a tube cutter or a saw. Debur and clean away any metal shavings from the cut.
7. Install swivel fitting into pitot tube port.

8. Install pitot tube. Notice the tip is now in perfect position.
NOTE: If installation of pitot tube requires a bend to reach the oil bath or to raise the tip off the bottom surface of the reservoir, make the desired bends, and then follow steps 2-10. You can mark the pitot tube hex on the flat of the bend direction. This will allow you to orient correct bend placement, and then tighten swivel on to pitot tube.
9. Install sampling valve.
10. Manually rotate the moving components for 1 full revolution to assure no contact is made with installed pitot tube.
Simple Upgrade

Setting equipment up for a lubrication program is always easier when you can benchtop it and mount supporting ancillary components exactly where desired. However, equipment in the field also needs to be upgraded to become part of your lubrication program. Upgrades include quick connects, desiccant breathers, level gauges and oil sampling equipment. These upgrades can be made easily with a little planning ahead. If these components are added to your in-field equipment and utilized, I can guarantee you will see an increase in the time between oil changes. That’s putting time back on the clock and money saved.
Obtaining Representative, Repeatable, and Consistent Oil Samples
A true representative sample is a key first step in obtaining quality information from your oil analysis program. Obtaining those samples with consistency and ease can be done with the installation of pitot tubes.