Dan Freeland
01.05.2021
Are you using the right methods and tools for your oil sampling program?

Taking oil samples is commonly compared to getting your blood drawn before you see your doctor. Lubricant samples, like your blood, holds a great deal of information about the health condition of the lubricant itself but also the health of your equipment. Because this information is so critical, it is important to know the best way to take an oil sample and what tools to use. This article is intended to serve as an oil sampling guide for those getting started with oil sampling for analysis.
Goals of Sampling
In a previous article, we spoke about the three primary goals of oil sampling.
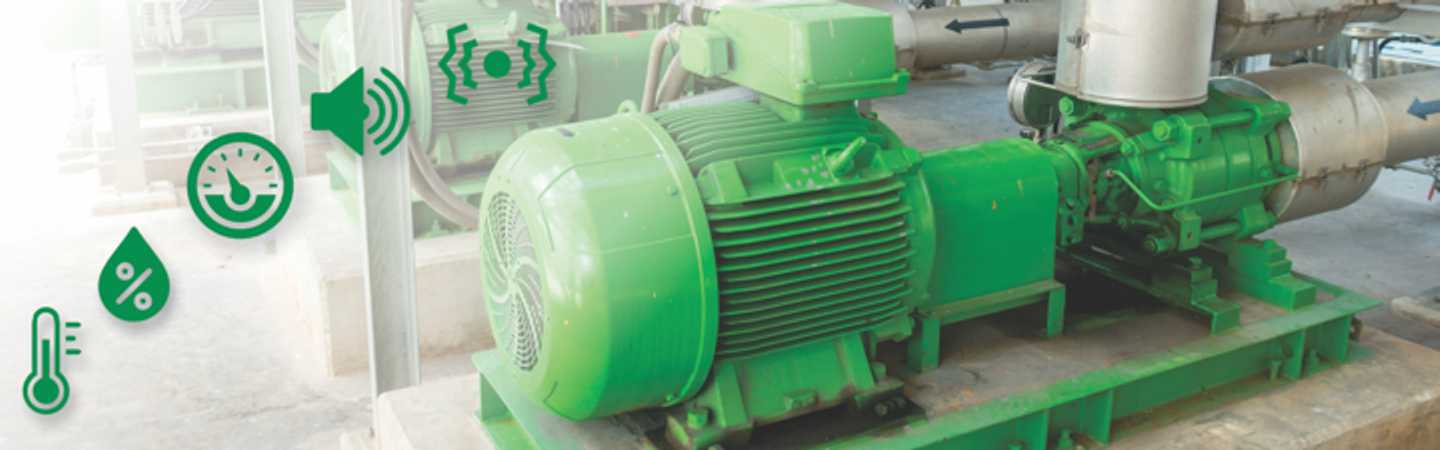
- To Maximize the sample data density – The sample should contain the most amount of representative data possible. The best samples represent the condition of the working lubricant. This is the zone closest to critical clearances and moving components.
- Minimize sample data disturbance – You do not want to corrupt the sample in any way. Contamination from the outside of the equipment, or the surrounding environment can misrepresent the actual condition of the lubricant and or the machine. It is critical to maintain the sample integrity.
- Sample at the proper frequency – selecting the proper sampling frequency for your equipment not only makes you more efficient, but also allows analysts to trend data and identify problems associated with the lubricant or machine. They can trend when the limits are breached, and when abnormal rates of change are acknowledged. Both are important.
Sampling Methods
There are several oil sampling methods that are used throughout industry. The choice for using these different methods relies mostly how the equipment, drum, or tank are set-up and designed. Most equipment is not properly set up for oil sampling, so rudimentary techniques are often resorted to. Here are a couple of popular methods and reasons these may not be the best methods.
- Dip Method – This method is mostly used in large tanks or drums that have large enough openings to dip a cup or bottle into for a sample. This method does not provide location consistency from sample to sample. If it is a piece of equipment, it can be a safety issue for a multitude of reasons. Not only that, but the larger opening also allows a large area for airborne contaminants and surface contaminants to enter.
.jpg "image-2-3-225x300-(1).jpg")
- Drop Tube Method – Is again typically for larger tanks or drums. The tube in this method is usually in a fixed position inside the equipment, with access to the top of the tube above the oil level. This method does provide for consistent location sampling. May be ok for 55-gallon drums, but again this opens the lubricant to external environment. If the tube is removable, a new drop tube should be used for each sample and care should be taken to not get the tube caught in moving components.
- Drain Method – Just what it sounds like. The customer will open the drain port, allow some fluid to drain out, then take the sample. The drawbacks are that the accessibility of a drain port may be limited. If the proper flushing doesn’t take place, the sample will contain bottom soot that isn’t really consistent with the working zone fluid. Drain sampling can also be dangerous while equipment is running.
.jpg "image-3-3-228x300-(1).jpg")
Sampling Hardware and Devices
There are devices to make oil sampling clean, easy, and safe – without compromising the lubricant by exposing it to the outside environment.
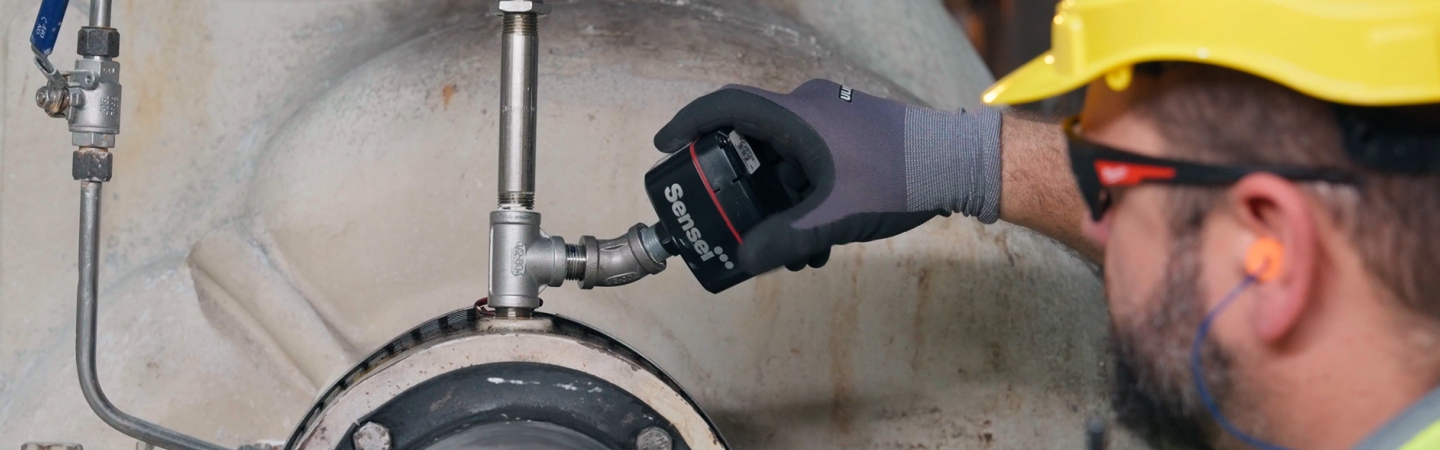
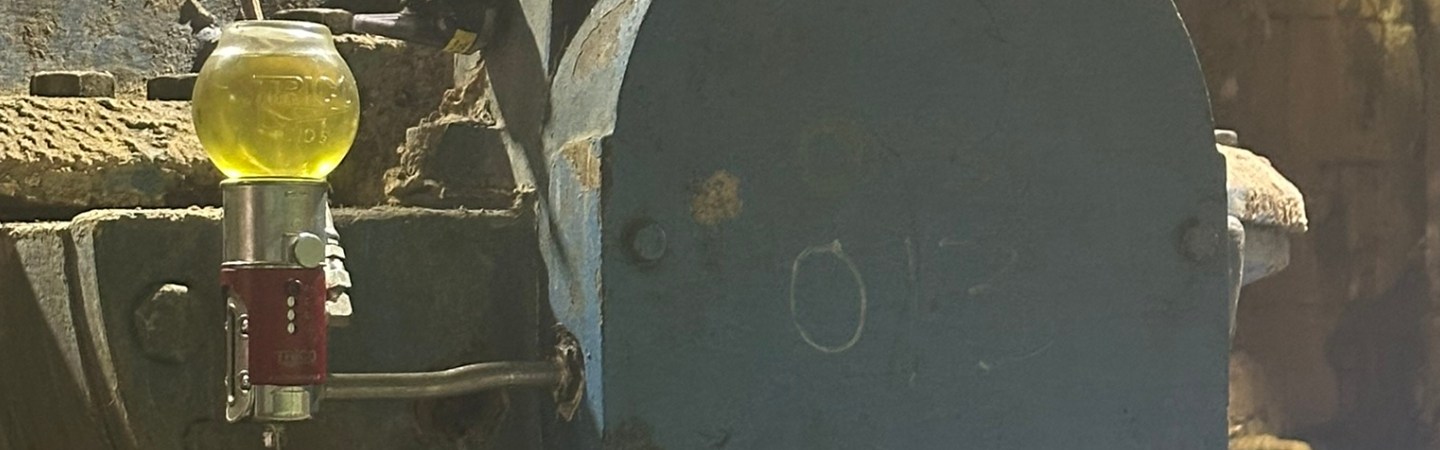
- Sampling Ports – Although this method of sampling may not be the best representation of working oil, pure consistent samples can be obtained in small oil sumps. These are also safe to sample while equipment is running and is the best alternative to pitot tubes.
- Pitot Tube/Sampling Port Method – This is the best method for extracting an oil sample in an easy, clean, consistent fashion without compromising the oil sump by exposing it to contaminants. When these are installed during shutdown, pitot tubes can be cut and bent to allow the end of the tube to be right in the working zone. This method does require a tube flush to clear stagnant oil from the tube prior to taking the actual sample.

Incorporation of your pitot tubes does not have to be a stand-alone installation. Depending on your equipment there are kits available that provide the benefit of the pitot tube along with other valuable features. Hydraulic Tank Kits, Gearbox kits, Boiler Feed Pump Kits, Liquid Level Kits, are all examples of offerings that provide a complete solution for your equipment, including a set-up for proper sampling. (See Links)
Once your sampling ports and pitot tubes have been installed, there are a few other tools required for taking a quality sample. These tools are as follows:
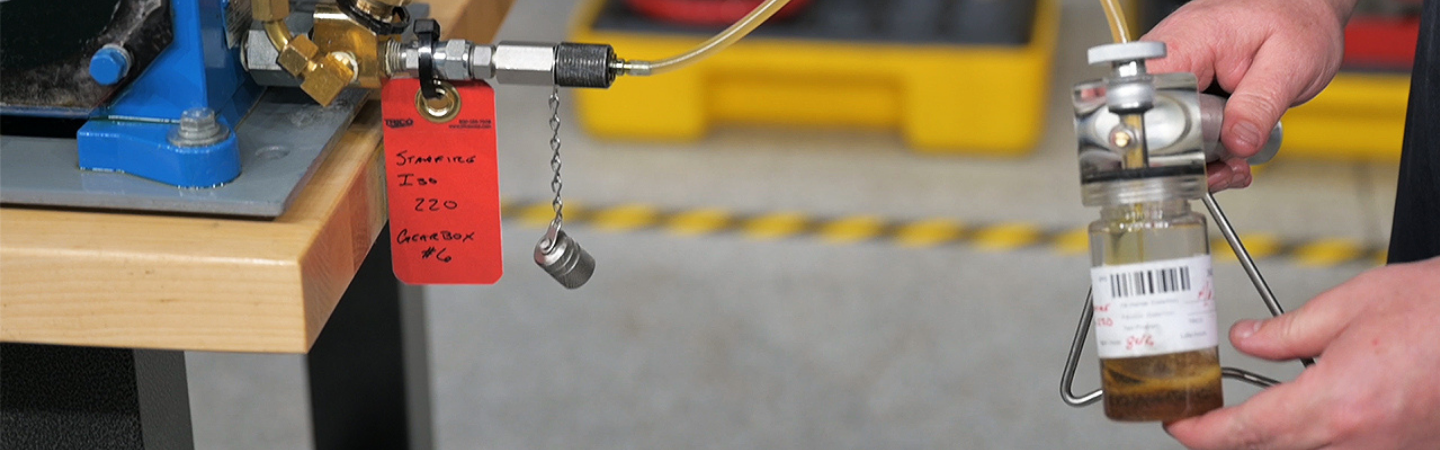
- Vacuum Pump – These simple hand pumps are relatively inexpensive. They are used for creating the vacuum required in non-pressurized systems. Some models include a vacuum relief button to assist in stopping the flow. When using make sure the plastic tube is inserted past the pump, otherwise some of your sample may end up in the vacuum pump.
- Sampling Bottles – Used for collecting the sample. There are many varieties and sizes to choose from. There are also different ratings of cleanliness that you can request. “Clean” (100 particles greater than10 µ/ml), “Super-clean” (10 particles greater than10 µ/ml), and “Ultraclean” (1 particle greater than10 µ/ml). Most industrial oil sampling locations are fine with a “clean” bottle. Paying much more per bottle for the others is generally not worth the cost for the very little benefit they would see from any test results in the industrial world.
- Sample Port Adapter – If the sample port valve is the lock, the sample port adapter is the key. This adapter opens the ball valve and allows the oil to leave the housing and enter the flexible tube. Not every sample port adapter works with every sampling port because of increased flow designs. Be sure you order your sample port adapters with your sampling ports and pitot tubes.
- ¼” OD Flexible Tubing – This tubing is chosen to be used because it is disposable, meaning it is only to be used one time. A new piece is cut for each sample taken.
So now you are ready to take a sample, but what is the proper procedure? Well, the procedure will vary depending on the piece of equipment, if the system is pressurized or non-pressurized, or if you are in an extreme environment for contamination ingress. Check out our “Oil Sampling Procedures” for each type of these scenarios and follow the steps provided.
Achieving the Goals of Sampling
Sample ports and sample ports with pitot tubes are the best way to achieve the three main goals of oil sampling. If you are currently running an oil sampling program or plan to start one, these tools will greatly improve and simplify your sampling life, and probably improve you oil analysis results. Whether you can set up your equipment with these tools upon initial commission (ask your supplier) or if the need to be upgraded in shutdown periods, getting these units or kit installed will greatly improve your samples.
Taking a Proper Sample
Are you still unsure on how to take a proper oil sample? Watch a brief video where Dan Freeland illustrates how to properly take an oil sample.